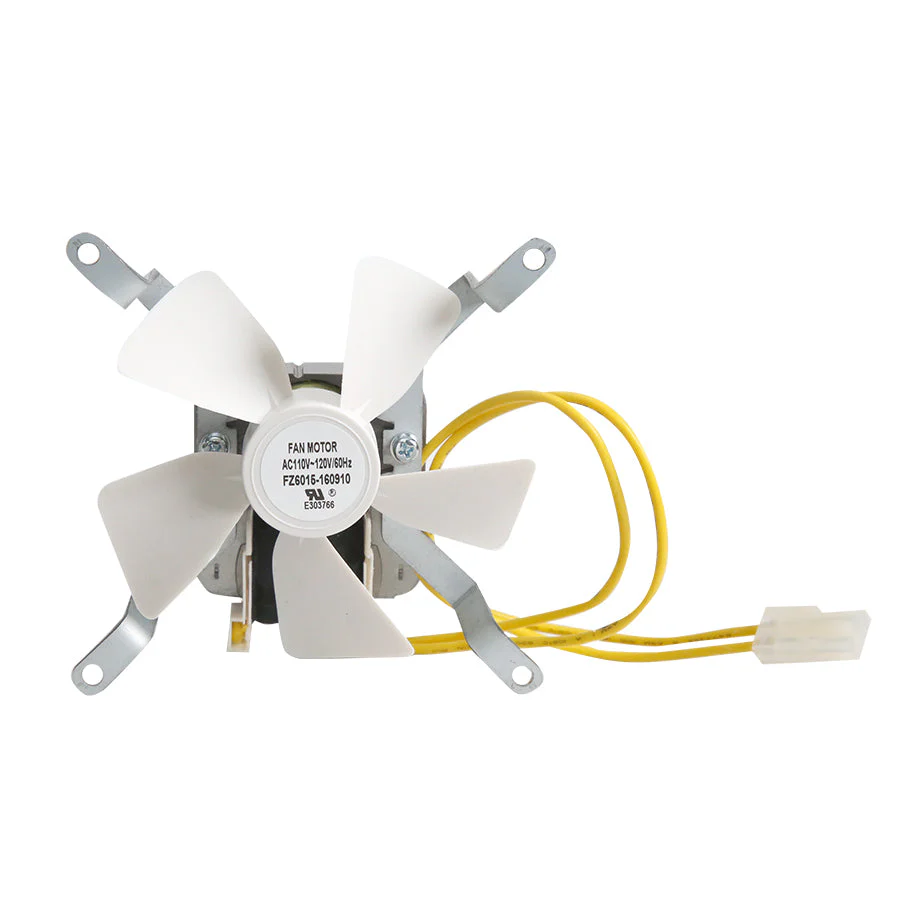
Fan - Combustion/Convection - PB Series
Keep your Pit Boss running at its best with an easy-to-install Fan replacement so you can continue to smoke, roast, bake, sear, braise and more — all from one machine. Your grill's fan is responsible for distributing air and circulating that precious wood-fired smoke, helping you craft award-winning BBQ right from your backyard.
Instructions:
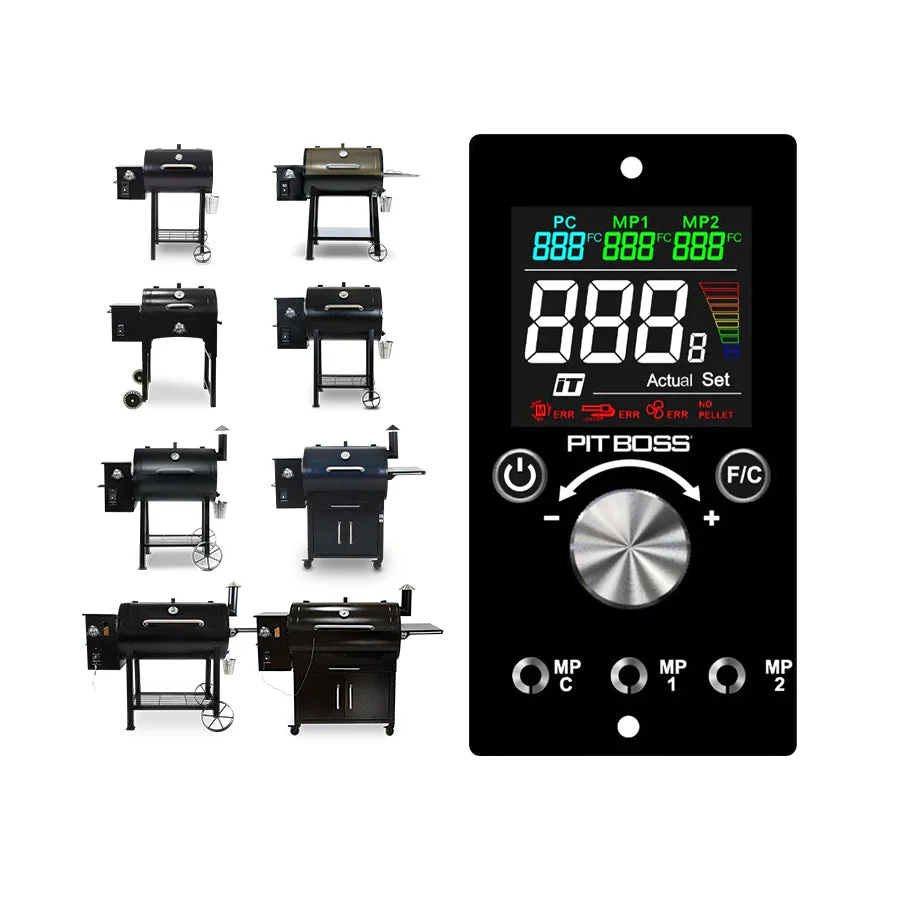
- Compatible with all AC powered Pit Boss pellet grills & smokers (excluding the Lockhart & PB150 pellet grill)
- Easy to install
Instructions:
- Unplug your unit from the power supply
- Locate the hopper access panel on the bottom of the hopper. Using a Phillips screwdriver, remove the 4-8 screws along the edges of the hopper access panel. Place aside
- From below, locate the connectors among the colored wires. Clip zip-ties with wire cutting pliers, as needed, to expose the wires more clearly, then disconnect the fan’s white connector
- Remove the old fan according to the diagram and install the new fan. Be careful to install the grounding terminal
- Locate the fan’s white connector and connect
- Take hold of the wires through the bottom of the hopper and fold them inside, behind the controller
- After testing, re-install the hopper access panel to the bottom of the hopper. Fasten with the 4-8 screws
$19.99
Fan - Combustion/Convection - PB Series—
$19.99
Description
Keep your Pit Boss running at its best with an easy-to-install Fan replacement so you can continue to smoke, roast, bake, sear, braise and more — all from one machine. Your grill's fan is responsible for distributing air and circulating that precious wood-fired smoke, helping you craft award-winning BBQ right from your backyard.
Instructions:
- Compatible with all AC powered Pit Boss pellet grills & smokers (excluding the Lockhart & PB150 pellet grill)
- Easy to install
Instructions:
- Unplug your unit from the power supply
- Locate the hopper access panel on the bottom of the hopper. Using a Phillips screwdriver, remove the 4-8 screws along the edges of the hopper access panel. Place aside
- From below, locate the connectors among the colored wires. Clip zip-ties with wire cutting pliers, as needed, to expose the wires more clearly, then disconnect the fan’s white connector
- Remove the old fan according to the diagram and install the new fan. Be careful to install the grounding terminal
- Locate the fan’s white connector and connect
- Take hold of the wires through the bottom of the hopper and fold them inside, behind the controller
- After testing, re-install the hopper access panel to the bottom of the hopper. Fasten with the 4-8 screws